Homemade Butter - perfect kid's project
Monday, July 31, 2006
Lately, I have been focusing on some basic cooking with Q. I posted about Q and her little sister KD in a recent post on my food blog on making Challah. We also did the whole homemade strawberry jam making post (with upcoming blueberry post). We have gotten a lot of good feedback from these series so I am continuing to shoot our basic skills work.Today is a series of rather static non-action shots of how to make butter. I was testing a new light set up and it was geared more toward product photography than editorial type of shots.
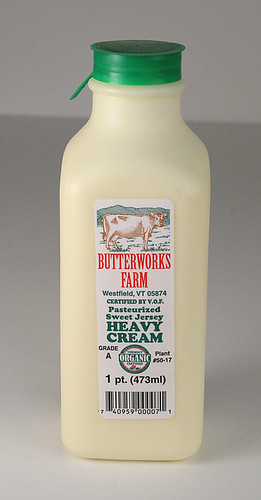
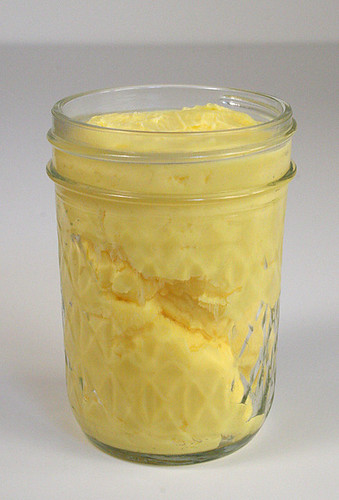
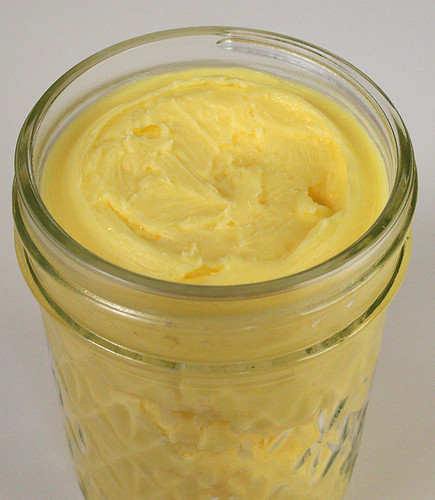
We started with organic sweet jersey cream. Its really worth the money to go with this more expensive product because you get a wholesome, flavorful, and colorful butter in the end.
Why does it matter if the animals pastured on greens instead of cereals from a bag?
The chlorophyls and other colored plant constituents (phytochemicals like beta carotenes) are partially carried over into the milk and thus cream. Commercially produced milk from huge dairies does not have these phytochemicals and thus butter made from this sort of milk must have food coloring added. The breed of dairy cow also determines butter color, Jersey (which we used here), tends to have a more yellow butter color.
Wikipedia entry for butter
Back to "The Making of Butter" (Imagine a majestic announcer voice like from Monty Python)
Ingredients:
COLD Heavy Cream
(try not to get the homogenized type, the fat droplets have been hyperfractured and may be a bit more difficult to coalesce into butter)
Salt, to taste (at the end, do not add to the cream)
Hardware:
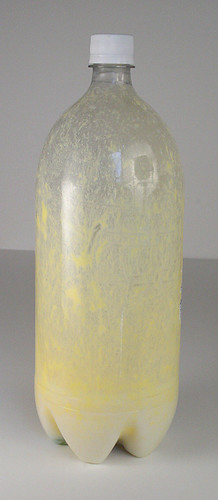
A large plastic soda bottle that has been thoroughly washed
(If you need to, rinse with alcohol or a light chlorine solution and then rinse with water - A LOT. I figured the carbonic acid in the soda (VERY LOW pH) would have kept anything nasty from growing in the seltzer bottle I used)
One COLD clean glass marble
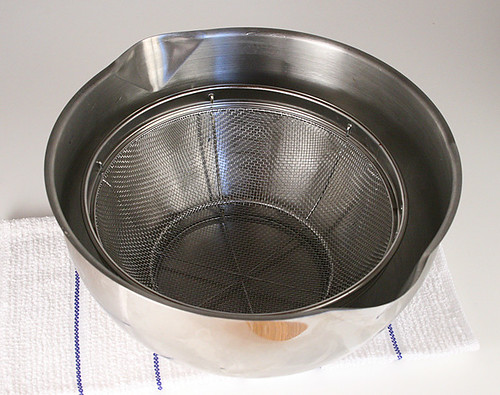
COLD stainless steel bowl
COLD stainless steel or plastic fine sieve
COLD spatula
Xacto knife
Directions:
Make certain that your bowl and sieve are washed and in the fridge cooling.
Assemble your cream whipping supplies: cream, soda bottle, and marble.
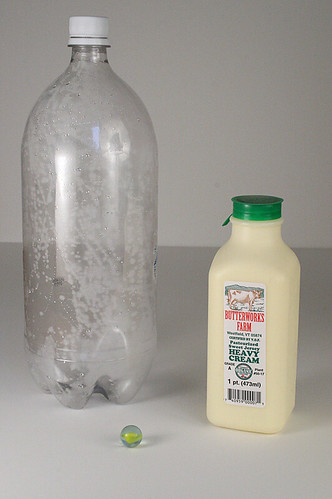
Put the marble and cream inside of the soda bottle.
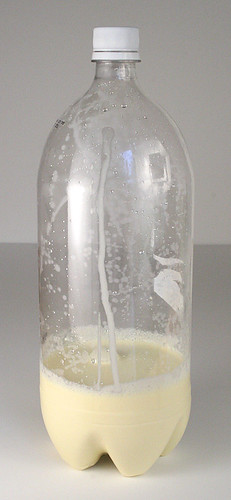
Now I handed the bottle to Q and had her shake the bottle. First it will be what you expect, sloshing cream and a marble rattling about.
Then the solution changes as the fat droplets begin to come out of solution and the marble rattling sound goes away (must be coated with fat). This may happen quickly (like in 5 minutes for us) or longer (perhaps 15 minutes, depends on the size of you container. The bigger container with more shake room the faster the process is.)
Continue shaking until the sound of the rattling marble comes back. Now the fat has come together in a nice big ball in the soda bottle and you are done with shaking. This might be quick or take 15 - 30 minutes. If its taking a while put the bottle in the fridge to chill after about 20 minutes, you do not want the fat to melt.
Once done, have the child rest, maybe some juice would help. Q did her shaking quite vigorously so she needed liquids, hugs, and some time out from the whole butter thing. That was ok, the butter needed to rest in the fridge.
Put the bottle in the refrigerator so that it can get a nice chill back.
Have your bowl and sieve ready.
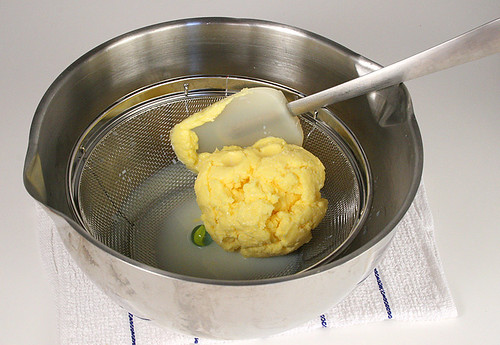
Pour buttermilk out the top of the bottle and then cut it open around the middle. (Dont let you child do this, blood is not a recommended ingredient in butter) Let the ball of butter drop into the sieve and use a cold spatula to scrape down butter on the walls of the bottle.
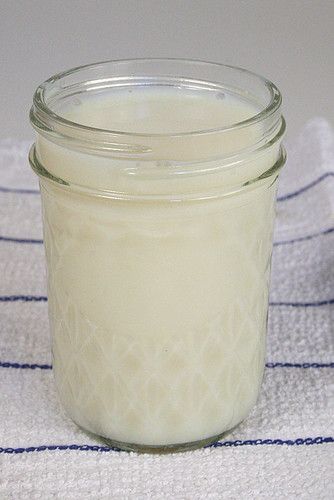
Save the buttermilk for other uses.
Rinse out the bowl with cold water and then put the butter in the bowl.
Massage the butter with the spatula by pushing it against the side of the bowl repeatedly. You will see more buttermilk come out of the butter, rise with cold water.
Continue until no buttermilk comes out. (The buttermilk, if left in, will make the butter go rancid).
Add some salt and mix in. You will want to do this until a taste test tells you it is salty enough for you.
Store the butter in a container that excludes air (oxygen will form free radicals with the fat – goes rancid).
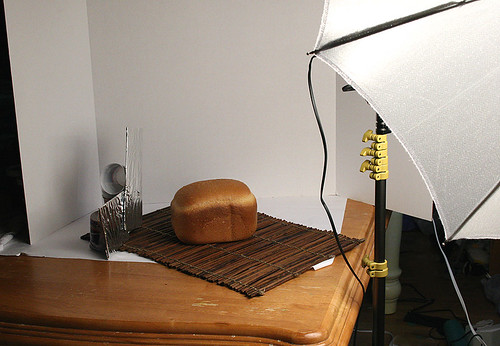
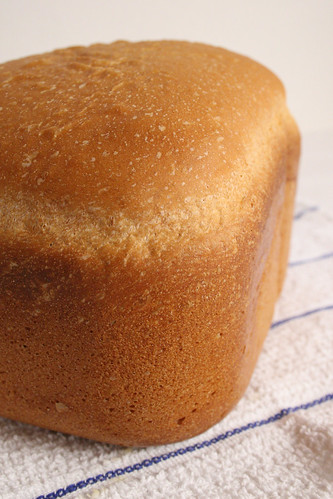
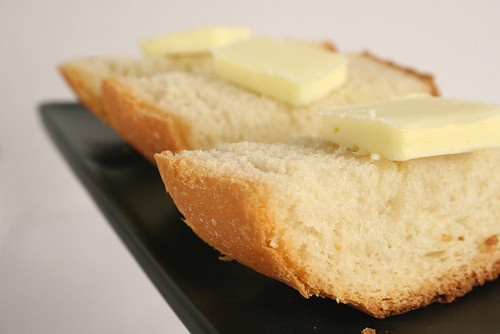
Enjoy on some fresh bread!
Technorati taggage:
butter, homemade, handcraft, food, culinary, cooking, handcrafted, fat, lipid, phytochemical, chrlorophyl, bread, cream, jersey, organic, heavy cream, cold.
12:27 PM :: 2 comments
nika :: permalink
>nika :: permalink


